Step-by-Step Guide to DIY Surveillance System Installation
Modern surveillance systems offer a cost-effective way to secure your home or property. Installing your own system saves on labor costs while giving you control over every step of the process. This guide covers everything from equipment selection to troubleshooting your setup.
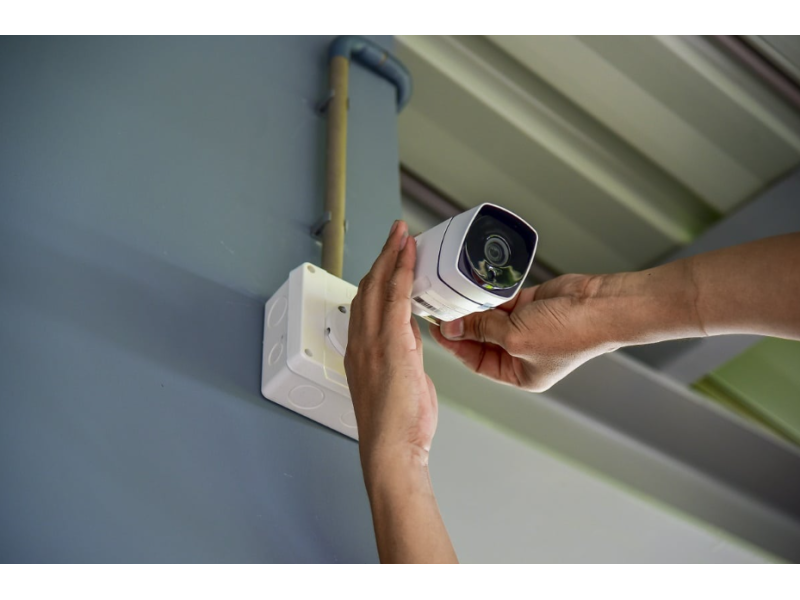
1. Planning and Selecting Equipment
Define Your Surveillance Goals:
- Key areas to monitor include entrances, perimeters, parking spaces, and valuables storage.
- For outdoor use, ensure cameras are weatherproof (IP66 or higher).
Choose Camera Types:
- Dome Cameras: Discreet and vandal-resistant, suitable for ceilings.
- Bullet Cameras: Best for outdoor use with a visible deterrent effect.
- PTZ Cameras: Ideal for larger areas with pan, tilt, and zoom functionality.
Decide on Connectivity:
- Wired Systems: More reliable; use coaxial cables or Ethernet.
- Wireless Systems: Easier to install but dependent on strong Wi-Fi signals.
2. Installation Process
Tools and Materials:
- Drill, mounting brackets, cables, connectors, and cable protection (e.g., conduits).
Camera Placement:
- Install cameras at 8–10 feet high to deter tampering.
- Avoid glare by positioning cameras away from direct sunlight.
- Cover entrances, exits, and areas with high traffic.
Cable Management:
- Use grommets for wall penetrations and seal them for weatherproofing.
- Avoid sharp bends in cables to prevent signal degradation.
Connecting Components:
- Connect cameras to a DVR or NVR.
- Ensure a stable power source with uninterruptible power supply (UPS) units.
3. System Configuration
Calibrate Cameras:
- Adjust the field of view and focus for clear visuals.
- Test night vision if applicable.
Set Recording Preferences:
- Motion-triggered recording saves storage space.
- Use high-resolution settings for critical areas.
Enable Remote Access:
- Connect the system to your router.
- Download and configure a mobile app for live monitoring.
4. Testing and Troubleshooting
Test the System:
- Verify camera angles, image clarity, and recording functionality.
- Check for blind spots or connectivity issues.
Simulate Scenarios:
- Test motion detection and alert systems under different conditions.
5. Maintenance and Upgrades
Regular Cleaning and Inspection:
- Keep camera lenses clean and free from obstructions.
- Check cable integrity and connections periodically.
Update Firmware:
- Keep your system secure and efficient with the latest software updates.
Conclusion
Installing your own surveillance system is a rewarding project that enhances your property’s security. By following this guide, you can create a tailored setup that fits your needs and ensures peace of mind.