Home Electrical Wiring – Planning, Installation, and Safety Tips
Proper electrical wiring is vital for the safety, reliability, and functionality of any residential property. Whether you’re renovating an older home or wiring a new construction, following a systematic, code-compliant process ensures a secure electrical system. This guide covers key steps—from project planning and material selection to installation and testing—using U.S. standards and best practices.
1. Project Planning and Design
a. Developing a Wiring Plan
Begin by drawing a detailed floor plan of your home. Your wiring schematic should indicate:
- Locations for Outlets, Switches, and Fixtures:
Mark where each electrical device will be installed, ensuring accessibility and convenience. For example, outlets in kitchens should be placed above countertops and near major appliances. - Circuit Grouping:
Divide your wiring into separate circuits, such as:- Lighting Circuits
- General Outlet Circuits
- Dedicated Circuits for high-power appliances (e.g., electric ranges, water heaters, HVAC systems)
- Distribution Panel Location:
The main load center should be placed in an accessible, dry area near the entrance. Ensure that all circuits leaving the panel are clearly labeled.
b. Load Calculation
Calculate the total power demand for each circuit. Add up the wattages of all connected appliances to determine the load. For high-demand areas like the kitchen, loads may reach 10–12 kW.
- Dedicated Circuits:
High-power appliances should have individual circuits. - Safety Margins:
Always design for a slightly higher capacity than the calculated load.
2. Material and Component Selection
a. Wiring Materials
For modern U.S. installations, choose UL-listed wiring that complies with the National Electrical Code (NEC). Common options include:
- NM Cable (Romex®):
Ideal for indoor, dry areas. - UF Cable:
Suitable for outdoor or damp areas.
Use copper conductors exclusively for their superior conductivity and durability. When selecting cable sizes, refer to NEC ampacity tables:
- Lighting Circuits: 14 AWG (or 12 AWG for higher loads)
- General Outlets: 12 AWG
- High-Power Appliances: 10 AWG or 8 AWG, depending on load
b. Outlets, Switches, and Protective Devices
- Outlets and Switches:
Choose devices with proper IP ratings. For instance, kitchens require outlets and switches that are durable and, when needed, moisture-resistant. - Circuit Breakers and GFCIs:
Each circuit should have its own breaker; GFCI protection is required in kitchens, bathrooms, and outdoor circuits. - Distribution Boxes:
Use weatherproof and secure junction boxes for all connections.
3. Installation Process
Step 1: Preparation
- Power Down:
Always turn off the main power before starting any electrical work. - Mark the Layout:
Using your floor plan, mark the locations for outlets, switches, and distribution boxes on walls, ceilings, and floors. - Plan Cable Routes:
Determine whether you’ll use open wiring (e.g., surface-mounted conduits) or concealed wiring (running cables inside walls or ceilings). Keep in mind that concealed wiring may require additional conduit or protective channels.
Step 2: Running the Cables
- Open Wiring:
Run NM cables along walls or ceilings in protective conduits or cable trays. Secure cables every 16–20 inches. - Concealed Wiring:
Cut channels in walls or ceilings using a wall chaser, lay the cables, and cover with drywall or plaster once installation is complete. - Maintain Proper Orientation:
Ensure cables run in straight, perpendicular lines with minimal bends to reduce voltage drop and mechanical stress.
Step 3: Installing Outlets, Switches, and Fixtures
- Mount Electrical Boxes:
Securely install boxes in pre-marked locations. In kitchens, place outlets above countertops (typically 15–20 inches high) and in general areas around 12 inches from the floor. - Install Switches:
Mount switches at around 31–35 inches above the floor for ease of use. - Fixture Installation:
Install lighting fixtures according to your plan, ensuring proper alignment with your wiring routes.
Step 4: Connecting to the Distribution Panel
- Circuit Connections:
Route each circuit from your wiring to the main distribution panel. Connect circuits to individual breakers rated according to the load. - Install Protective Devices:
Add GFCI or AFCI protection as required. - Labeling:
Clearly label each circuit for future reference and maintenance.
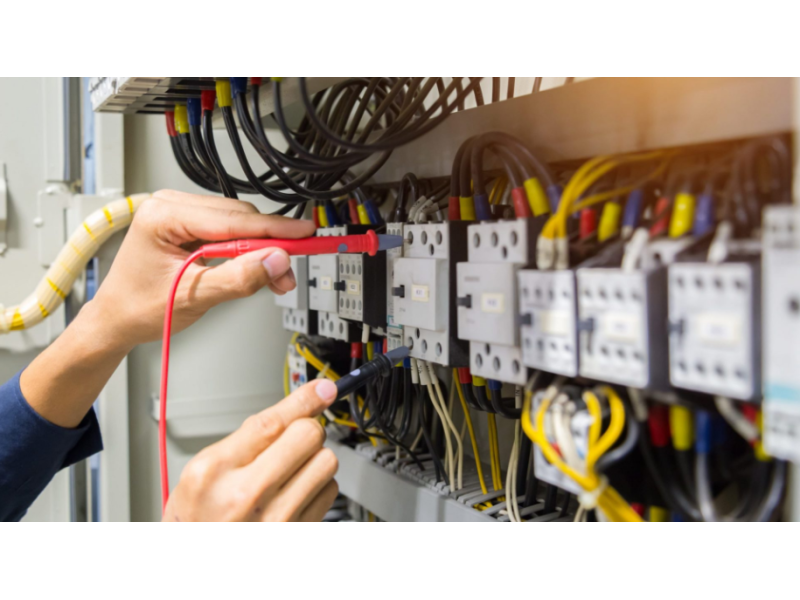
Step 5: Testing and Inspection
- Continuity and Insulation Testing:
Use a multimeter to verify continuity and check insulation resistance. - Voltage Testing:
With the power restored, verify correct voltage (typically around 120V or 240V as applicable) at every outlet. - Final Inspection:
Ensure that all wiring, connections, and protective devices meet NEC standards. Consider having a licensed electrician inspect your work for full compliance.
4. Conclusion
Replacing or installing electrical wiring in your home is a major project that requires detailed planning, careful material selection, and adherence to safety standards. By calculating loads correctly, selecting UL-listed materials, and following a systematic installation process, you ensure that your wiring is safe, reliable, and capable of meeting modern demands.
For premium wiring supplies, advanced circuit breakers, and more expert guidance on electrical installations, visit safsale.com. Remember, safety is paramount—if you’re ever uncertain, consult a licensed electrician to verify that your installation complies with all NEC requirements and local codes.
When in doubt, always hire a professional!