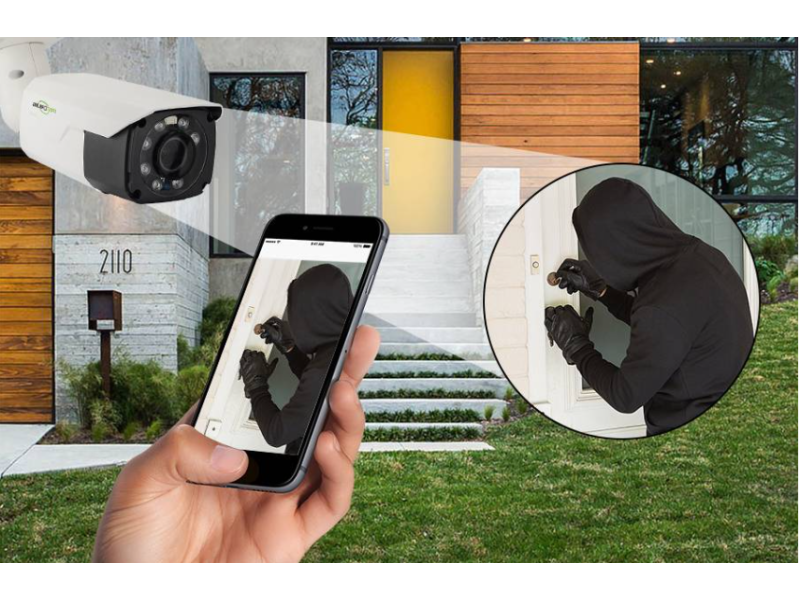
Apartment Video Surveillance via Internet
Setting up internet-connected video surveillance in an apartment involves two main steps:
- Choosing and installing the right surveillance equipment.
- Setting up remote internet access.
Determining Surveillance Goals
Before installation, define your objectives:
- Real-time remote monitoring.
- Video archive creation for later review.
- A combination of both.
Identify areas to monitor (e.g., entrances, windows, valuable areas) to determine the number and type of cameras required.
Installing and Connecting Cameras
Best Approach: Cloud-Based Surveillance
- Choose a camera compatible with a specific cloud service or vice versa.
- Cloud services simplify setup and provide remote access.
Archiving Options:
- Cloud Storage: Convenient but may incur significant subscription costs.
- Local Storage via DVR/NVR: Allows recording from both analog and IP cameras.
Steps to Connect Cameras
- IP Cameras: Connect directly to the internet via the router.
- Analog Cameras: Require a DVR connected to the router.
- Configure the system to integrate with the cloud or local storage.
Accessing the System
Devices compatible with remote access include:
- Personal computers or laptops.
- Tablets.
- Smartphones (most popular for convenience and portability).
Tips for Efficient Setup
- Use a cloud service for seamless real-time monitoring and data storage.
- Select cameras based on compatibility with the chosen cloud provider.
- Ensure a stable internet connection for uninterrupted operation.
- For budget-conscious users, consider combining cloud and local storage options.
Internet-enabled surveillance systems enhance apartment security, offering convenience and peace of mind. Whether for live monitoring or video archiving, these systems ensure reliable and accessible home protection.
Apartment Video Surveillance Installation
09/01/2025
Video Surveillance in Apartment Complexes
09/01/2025