Apartment Electrical Wiring – Step-by-Step Guide for Each Room
Apartment electrical wiring plays a critical role in ensuring safety and comfort in your home. It must comply with strict standards and follow key principles to prevent overloads, short circuits, and fire hazards. This guide covers all stages of apartment wiring, focusing on kitchens, bathrooms, and high-power appliances.
Stages of Apartment Electrical Wiring Installation
To properly install apartment electrical wiring, follow these key stages:
- Developing the wiring plan – Determine the location of outlets, switches, and light fixtures.
- Approval and registration – Obtain approval from local electrical authorities if required.
- Temporary power setup – Set up a temporary power supply for construction purposes.
- Wire installation – Run electrical wiring according to your plan.
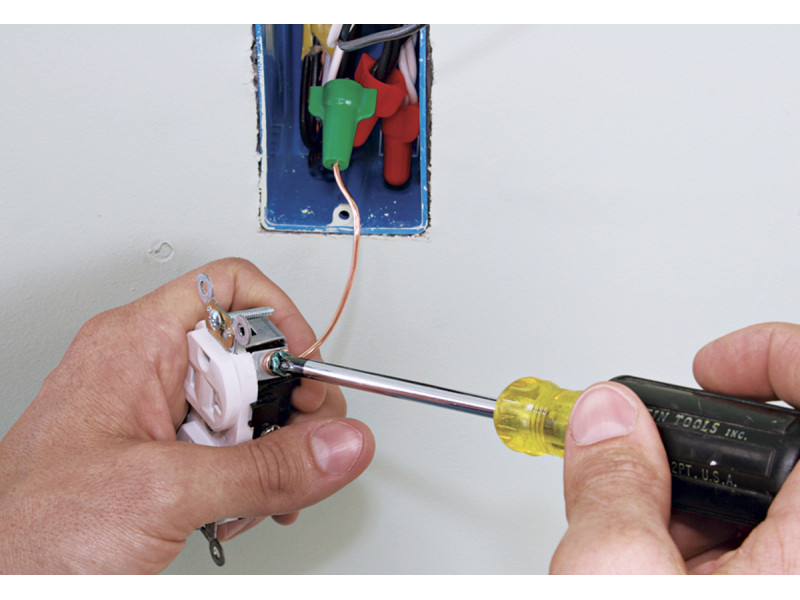
- Installation of devices – Install outlets, switches, and appliances.
Tip: Always invest in high-quality materials. Cheap cables and electrical devices can fail quickly, posing fire risks.
Wiring Schemes: Star vs. Daisy Chain
Before starting installation, choose a wiring scheme:
Star Wiring: Each appliance has its dedicated line from the main panel.
- Advantages: Safer and easier to maintain.
- Disadvantages: Requires more materials and time.
Daisy Chain Wiring: Multiple devices are connected in series on a single line.
- Advantages: More affordable, fewer materials needed.
- Disadvantages: Requires thicker cables to handle higher loads.
Pro Tip: Use a hybrid approach — dedicate individual lines for high-power appliances and daisy chain low-power devices like lighting circuits.
Kitchen Electrical Wiring
The kitchen is one of the most demanding areas for electrical wiring due to the large number of appliances. Proper planning is crucial to avoid overloading the circuit.
Key Points for Kitchen Wiring:
- Dedicated Lines for High-Power Appliances:
Electric stoves, ovens, and dishwashers require separate circuits with their own circuit breakers and grounding. - Avoiding Overheating: Use cables with appropriate cross-sections. For high-power appliances, 4 mm² or larger is recommended.
- Outlet Placement: Install outlets at least 20 inches (50 cm) away from the stove or gas pipes.
- Height Recommendations:
- Outlets for countertops: 6-8 inches (15-20 cm) above the countertop.
- Outlets for built-in appliances: 4-8 inches (10-20 cm) above the floor.
Bathroom Electrical Wiring
Bathrooms are high-humidity environments that require special safety measures.
Essential Rules for Bathroom Wiring:
- No Switches Inside: Install switches outside the bathroom to prevent electrical shocks.
- Waterproof Outlets: Use outlets with IP44 or higher protection and sealed covers.
- Install a Dedicated Circuit for High-Power Devices: Water heaters and washing machines require separate circuits with individual circuit breakers.
- Use Ceiling Wiring: Run wires along the ceiling rather than walls to avoid water exposure.
- Low-Voltage Lighting: Replace 220V lights with 12V or 24V LED fixtures for added safety.
Recommended Cable Sizes:
- 2.5 mm² for general outlets.
- 4 mm² for washing machines and heaters.
Wiring for High-Power Appliances
High-power appliances such as electric ovens, air conditioners, and water heaters require special attention.
Connection Tips:
- Use Separate Circuits: Each high-power appliance should have its dedicated circuit with a 32A outlet and grounding.
- Proper Outlet Placement: Place outlets at 4-8 inches (10-20 cm) from the floor for appliances like dishwashers and refrigerators.
- Avoid Daisy Chaining: Never connect multiple high-power appliances to the same circuit.
Example of High-Power Devices:
- Electric heaters
- Built-in ovens
- Air conditioners
- Heated floors
Step-by-Step Wiring Process for Apartments
Step 1: Develop a Wiring Plan
Mark the location of outlets, switches, and light fixtures on your apartment layout. Ensure even distribution to avoid overloading circuits.
Step 2: Choose the Right Materials
Select high-quality cables and protective devices. Recommended cable sizes:
- 1.5 mm² for lighting circuits
- 2.5 mm² for standard outlets
- 4 mm² for high-power appliances
Step 3: Install the Distribution Panel
Mount the distribution panel near the entrance for easy access. Install circuit breakers, ground-fault protection (GFCI), and surge protectors.
Step 4: Run the Wiring
Depending on the chosen wiring type:
- Open Wiring: Use cable conduits or channels for protection.
- Hidden Wiring: Cut channels in the walls and seal them with plaster.
Important: Avoid wire twisting. Use terminal blocks or connectors for reliable connections.
Step 5: Test and Verify
Before covering the wires, test for proper connections, insulation resistance, and grounding.
Safety Tips for Apartment Wiring
- Ground Everything: Proper grounding is essential for safety.
- Install GFCI Protection: Especially in kitchens, bathrooms, and outdoor areas.
- Label All Circuits: This will help you quickly identify issues during maintenance.
- Use Fire-Resistant Cables: Especially in concealed installations.
Conclusion
Apartment electrical wiring requires careful planning and adherence to safety standards. By following this guide, you’ll create a safe and reliable electrical system that meets modern demands.
For high-quality cables, switches, and protective devices, visit safsale.com — your trusted source for electrical components.
Remember: Always consult a professional electrician if you’re unsure about any part of the installation process. Safety comes first!