OUTDOOR WIRING ≠ OPEN WIRING
People sometimes assume “outdoor wiring” is exactly the same as “open” wiring, but that’s not quite right. The essential difference is that outdoor (external) wiring takes place outside the building-whether on walls, overhead lines, or even underground-while open wiring simply means the cables are visible on the surface. So your outdoor system can be either open (on the façade of a house, for instance) or hidden (under a layer of soil in a trench, or discreetly tucked into special ducts).
Regardless of how you do it, the biggest challenge with external wiring is dealing with elements like moisture, UV exposure, and temperature swings. It’s also crucial to respect local codes (like PUE and SNiP 3.05.06-85 in some regions) for the design and installation of exterior circuits.
MAJOR METHODS FOR EXTERNAL WIRING
Surface-Mount on Exterior Walls
- Cables can be fastened directly to walls using brackets, ceramic insulators, or specialized clips.
- Works well on solid masonry or concrete surfaces; in wooden exteriors, ensure added fire protection and standoff if needed.
Suspension Between Buildings (Overhead Lines)
- The cable is strung in the air, possibly with a supporting messenger wire (or using the cable’s own structural strength if it’s self-supporting).
- Common for connecting power between a main house and an outbuilding, or when trenching is impractical.
Trunking, Conduits, or Buried Channels
- Cable runs inside tubes, conduits, or cable trays mounted along walls or underground.
- Underground lines often need trench digging and possibly protective coverings to prevent damage from shovels, rodents, or moisture.
ESSENTIAL COMPONENTS AND PROTECTION
No matter which route you choose, an exterior electrical system includes:
- Cable or wire that’s specifically rated for outdoor use (moisture-, UV-, and temperature-resistant).
- Mounting hardware and protective fittings to secure lines and guard against mechanical impact.
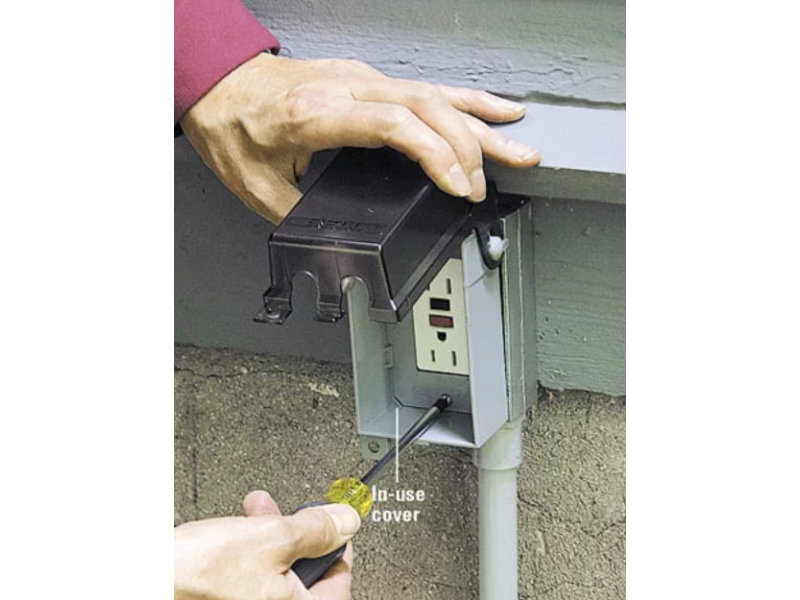
- Junction boxes or distribution enclosures that meet weatherproof standards (at least IP44 or higher, depending on local conditions).
When mapping out the run, always anticipate potential sources of mechanical stress (kids playing, tree branches, passing vehicles) and factor that in. If it’s overhead, keep enough height clearance. If it’s surface-mount, watch out for corners and foot traffic. And if it’s underground, bury the cable at the correct depth and mark it properly.
COMMON OUTDOOR CABLE TYPES
1. SIP (Self-Supporting Insulated Wire)
SIP is extremely popular for overhead runs. It uses aluminum conductors twisted together and covered in tough insulation. The zero (neutral) core typically acts as the load-bearing element, so you don’t need a separate support cable. Because of this robust design:
- Great for running from a main supply pole to a house or between buildings.
- Compatible with special “piercing connectors” that let you tap into the line without stripping big sections.
2. AVBbShv
A heavy-duty aluminum power cable with PVC insulation, plus a protective “hose” layer and armor (the “B” indicates armor, “bSh” stands for “double steel tape armor,” etc.). This cable handles wide temperature extremes-some versions go down to -60°C-and is commonly used for underground or surface external lines, especially if you need serious mechanical protection.
3. NYY
A copper conductor cable (2 to 5 cores) with a PVC jacket. This model is known for:
- Operating range around -50°C to +50°C
- Good mechanical and moisture protection
- A “non-spreading flame” property if laid as a single cable
- Originally made to meet German VDE standards
CRUCIAL RULES FOR OUTSIDE WIRING
- Proper Insulation and Enclosures
- If you’re using simpler single wires (rather than a fully jacketed cable), you must run them inside protective conduits.
- No Twist-Only Connections
- Splices must be done via special connectors, crimps, solder, or specialized clamps-plain twists are typically forbidden in external lines.
- Self-Support or Messenger Cable
- For overhead lines, either you use a cable with built-in structural support (like SIP) or you hang a standard cable from a sturdy steel messenger wire.
- Wall Fastening
- Secure cables with designated clips or anchors, ensuring the line is taut and stable.
- Avoid Roofing Structures
- Laying a cable directly over a roof is generally prohibited due to mechanical and heat risks.
When dealing with standard mains voltage (220 or 380 V in certain regions) outdoors, SIP is a go-to solution for overhead sections. Its major bonus is you can branch off easily using piercing clamps (though that’s a job for trained pros, as the line is typically live during the process).
FINAL REMINDERS
Outdoor electrical wiring can be simpler than you think, provided you pick the right cable for the environment-something that can withstand humidity, UV rays, mechanical stress, and temperature extremes. Always follow local electrical codes and guidelines to ensure the system’s safe operation.
- Plan your route carefully, taking note of potential hazards.
- Select cables rated for outdoor conditions.
- Use correct hardware to secure lines to walls or poles.
- Protect connections with waterproof or weatherproof enclosures.
Doing all of this properly means you’ll have a reliable exterior electrical setup for your lighting, gates, outbuildings, or any outdoor power needs-without constantly worrying about rain, wind, or accidental damage.