A well-configured security camera helps safeguard your home or business, providing reliable video footage and remote monitoring capabilities. Below, we outline each step - from choosing the right spot and wiring to adjusting imaging parameters and ensuring system security.
1. Planning the Installation
- Identify Key Coverage Areas:
- Entry points, garages, or hallways in a home.
- Cash registers, stock rooms, or lobbies for businesses.
- Avoid Direct Sunlight/Glare: Position cameras so they’re not facing high-intensity lighting or windows.
- Height & Angle: Mount at about 2.5-3 m above ground for a good field of view and vandal resistance.
- Access to Power & Network: Ensure power outlets or wiring paths are conveniently available. For outdoor installs, use weatherproof housings or protective awnings.
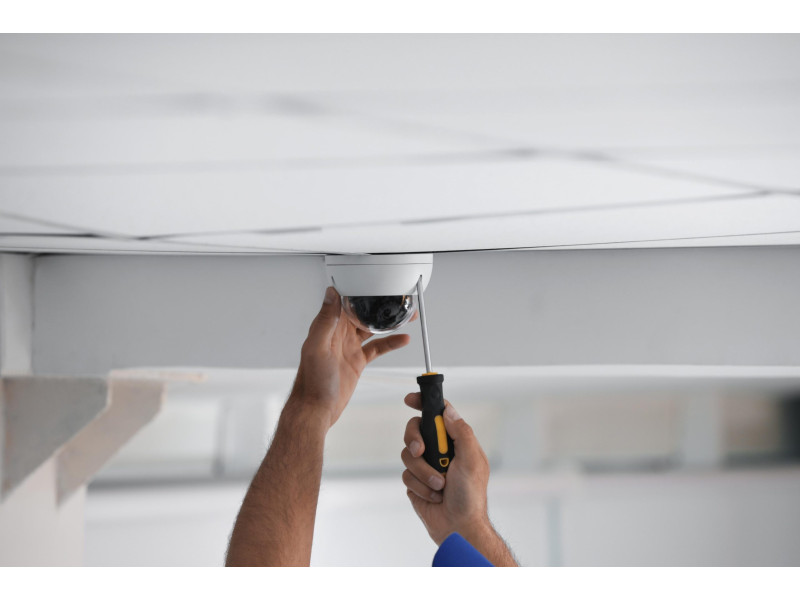
2. Mounting & Physical Connection
- Mark and Drill:
- Use a pencil and level for mounting bracket holes.
- Select appropriate anchors for concrete or wooden surfaces.
- Camera Bracket:
- Securely fasten the bracket.
- Double-check alignment; a slight tilt can affect coverage.
- Cable Routing:
- Analog: Run coax (or twisted pair + baluns) plus a power cable.
- IP Cameras: Use Ethernet for data (and possibly PoE).
- Weather Sealing: Protect outdoor cable connections with waterproof couplers.
3. Power & Network Setup
- Analog (AHD/TVI/CVI) Cameras:
- Connect the camera’s BNC video output to the DVR input.
- Provide separate DC or AC power (unless using a combined cable kit).
- IP Cameras:
- If PoE, plug the camera into a PoE switch/port. Otherwise, run a power adapter.
- Assign or discover the camera’s IP address via the manufacturer’s software or your router’s client list.
- Wi-Fi Cameras (Optional):
- First connect via Ethernet to configure Wi-Fi.
- Enter the SSID and password in the camera’s setup page.
- After success, remove the Ethernet cable.
4. Basic Image Configuration
Access the camera’s web interface or a dedicated software utility to fine-tune these parameters:
- Resolution & FPS:
- Commonly 1080p at 25-30 fps is enough for clear footage.
- Higher resolution increases bandwidth/storage usage.
- Brightness, Contrast, Saturation:
- Adjust to compensate for lighting conditions (day/night).
- Exposure & White Balance:
- If outdoors, enable features like backlight compensation or WDR (Wide Dynamic Range).
- For indoors, ensure auto-exposure is stable to avoid bright windows blowing out the image.
5. Motion Detection & Recording
- Activate Motion Detection:
- Mark detection zones to exclude constant movement areas (like a swaying tree).
- Adjust sensitivity to reduce false triggers but avoid missing crucial events.
- Recording Modes:
- Continuous: Records 24/7, recommended for critical locations.
- Motion-triggered: Saves disk space by only capturing events when movement is detected.
6. Remote Access & Networking
- Cloud Service (Simplest):
- Some cameras include a mobile app for direct cloud storage/streaming.
- Register an account, link your camera, and you’re ready to view remotely.
- DDNS & Port Forwarding (Advanced):
- If you want direct access without a cloud service, set up a static IP or dynamic DNS.
- Open/forward ports on the router for the camera/NVR (e.g., HTTP port).
- Ensure strong passwords and encryption if accessible over the public internet.
7. Security Precautions
- Change Default Passwords:
- Use strong, unique credentials with uppercase, lowercase, digits, and special characters.
- Firmware Updates:
- Regularly check the vendor’s site for patches, addressing known vulnerabilities.
- Network Isolation:
- Consider placing the camera(s) on a separate VLAN or subnet from critical devices.
- Secure Remote Logins:
- If using direct IP access, set up VPN or robust authentication methods.
Conclusion
Camera setup involves more than just screwing a device to the wall. By carefully choosing an installation site, managing power/network connections, and configuring image and motion settings, you optimize coverage and reliability. Likewise, thoughtful security measures-firmware updates, changing default credentials, and limiting network exposure-help safeguard your footage from unauthorized access.
Follow these steps to ensure clear, stable video captures and the flexibility of remote viewing. For advanced design, configuration, or troubleshooting, consult safsale.com for expert advice-ensuring a dependable, secure surveillance solution.