Electrical wiring in an apartment refers to the complete network of cables, outlets, switches, and distribution panels that ensure a reliable and safe power supply throughout the home. Whether you’re upgrading your system or planning a new installation, understanding the wiring layout is essential for powering everything-from lighting and appliances to heating systems. At safsale.com, we offer expert insights tailored to the American market, ensuring that your electrical installation complies with the latest NEC (National Electrical Code) standards while meeting your daily needs.
Below, we’ll explore a sample wiring diagram for a one-bedroom apartment, discuss key components, and review the necessary tools and materials for a successful installation.
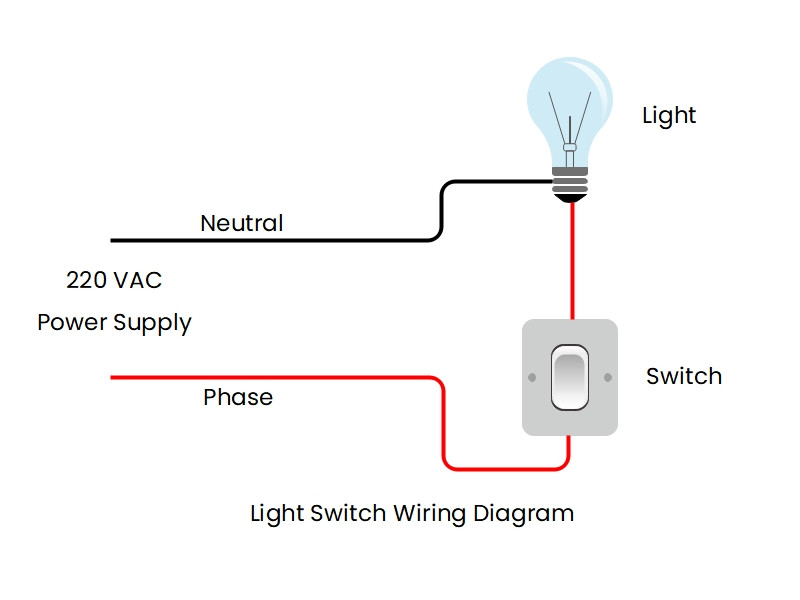
1. Overview of Apartment Electrical Wiring
An apartment’s electrical system is designed to power a variety of devices, including:
- Lighting fixtures such as ceiling lights and wall sconces.
- Outlets and switches for everyday appliances (from washing machines to electric kettles).
- Distribution panels, circuit breakers, and meters for power management and safety.
These components are interconnected by wiring and cabling installed according to established standards such as the NEC. Proper planning and execution not only ensure safety but also streamline troubleshooting and future upgrades.
2. Sample Wiring Diagram for a One-Bedroom Apartment
2.1 Schematic Components
For a one-bedroom apartment, the electrical wiring schematic typically includes:
- General Lighting Circuit:
- Components: Light fixtures throughout the apartment (except for bathrooms, which require special wiring).
- Wiring: Often uses a cable with a cross-sectional area of approximately 1.5 mm² (roughly equivalent to 14-16 AWG) since the overall current demand is low.
- Bathroom & Toilet Lighting and Outlets:
- Special Considerations: Bathrooms are classified as wet areas. Wiring must be isolated, sometimes using a transformer for additional galvanic isolation to meet NEC guidelines.
- Kitchen Power Circuits:
- Heavy-Duty Appliances: Dedicated circuits for high-load devices like dishwashers, stoves, or microwaves. These circuits use their own circuit breaker, GFCI protection, and generally require wiring rated for higher currents (e.g., using cables with a cross-sectional area around 2.5 mm² or appropriate AWG equivalent).
- General Kitchen Outlets:
- Lower-Power Devices: Additional outlets for items like electric kettles, toasters, and mixers are grouped together, ensuring proper protection via GFCI where required.
- Additional Outlet Circuits:
- Other Areas: Depending on apartment size, separate circuits might be planned for living areas or bedrooms.
2.2 Wiring Layout and Distribution
- Electrical Panel:
- The main distribution panel (or breaker box) is typically located in a central location. It houses circuit breakers, main disconnects, and sometimes electrical meters.
- Cable Routing:
- Wiring is routed through walls, ceilings, or floors. For indoor installations, clear labeling and color-coding help manage connections.
- Conductor Sizing:
- For safety and efficiency, conductor sizes are selected based on expected current loads. For example, 1.5 mm² (approx. 14-16 AWG) cables are common for general lighting, while circuits powering heavy appliances might require larger conductors.
A detailed schematic often includes separate sheets: one for equipment placement, one for cable routes (trunking along walls, ceilings, or under floors), and another for connecting individual devices (switches, outlets, and light fixtures). This organized approach helps electricians ensure that every connection is properly made, reducing the risk of errors.
3. Tools & Materials Needed
Basic Tool Kit:
- Drill or Hammer Drill: For creating mounting holes in concrete, wood, or drywall.
- Screwdrivers & Power Screwdrivers: To fasten outlets, switches, and panels.
- Wire Cutters/Strippers: For preparing cables.
- Fish Tape: Essential for pulling cables through walls or conduits.
- Voltage Tester/Multimeter: To check connections and verify proper voltage.
Materials:
- Cables & Wires: Selected based on circuit requirements (e.g., 1.5 mm² for lighting; larger gauges for kitchen circuits).
- Electrical Boxes & Conduits: To protect wiring and connections.
- Circuit Breakers and GFCI Outlets: As mandated by safety codes.
- Labels: To mark wires and connections for easier troubleshooting.
4. Installation & Connection
4.1 Planning the Layout
- Draw a Detailed Schematic: Include every outlet, light fixture, and switch. Clearly mark the location of the electrical panel.
- Group Circuits by Function: Organize wiring into circuits for lighting, high-power appliances, and general outlets.
4.2 Physical Installation
- Mounting Hardware: Secure electrical boxes and panels firmly to walls or ceilings.
- Cable Routing: Route cables neatly along walls, using conduits or cable management systems to protect and organize wiring.
- Electrical Connections: Ensure all cables are properly connected, with secure terminations and appropriate insulation.
4.3 Final Testing & Verification
- Use a Multimeter: Verify that voltage levels at various points match the design specifications (e.g., 120 V in U.S. residential circuits).
- Inspect All Connections: Check that all outlets and switches operate correctly.
- Document the Setup: Retain wiring diagrams and labels for future troubleshooting or modifications.
5. Conclusion
A well-designed electrical wiring system for an apartment not only powers your devices but also ensures safety, efficiency, and compliance with the NEC standards. From drawing up detailed schematics for a one-bedroom apartment to selecting the right cable sizes and protection devices, every step plays a crucial role in a reliable power distribution system.
For expert advice on electrical system design, safe installation practices, or troubleshooting tips, visit safsale.com. Our resources and professional guidance can help you build a robust, code-compliant electrical infrastructure that meets your needs and stands the test of time. ⚡🏠