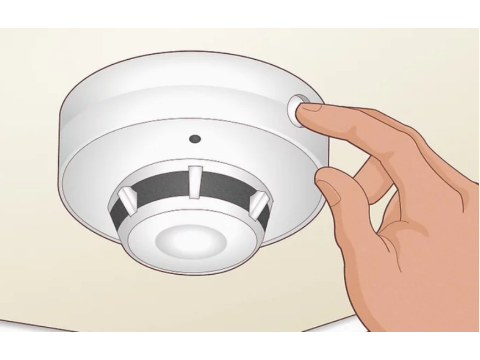
HOW TO DISABLE YOUR APARTMENT FIRE ALARM WITHOUT TROUBLE
A HANDY GUIDE FROM A SPECIALIST
Let’s start by saying this: disabling a fire alarm is generally frowned upon by fire safety authorities-and for good reason. Fires are no joke, and compromising safety measures can lead to serious risks.
But sometimes, it’s unavoidable-like when you’re renovating your apartment in a new building. Here’s the lowdown on how to safely and temporarily disable your fire alarm system without causing unnecessary issues.
FIRE ALARMS IN NEW APARTMENTS: A COMMON HASSLE
Picture this: you just got the keys to your new apartment. It’s a blank slate, ready for renovations. But the fire alarm system is already in place, sensors and all, hanging there like they own the place.
Most setups include:
- Three heat detectors (usually in the entryway).
- One manual pull station (by the front door).
It’s functional but barely helpful during renovations, and still, you can’t just yank it out without consequences. Builders are required to install these systems, but they’re often designed for basic compliance, not practicality.
THINGS TO KNOW BEFORE DISABLING A FIRE ALARM
Common Scenarios:
- False Alarms: The sensor beeps, and you’re scrambling to figure out why. If it’s an autonomous detector (not connected to the control panel), simply pull the battery out.
- Renovation Needs: Disabling the fire alarm for construction work can be tricky, especially if you can’t reach the service company.
Key Challenges:
- Cutting wires won’t work-it’ll only make the system more aggressive.
- Control panels are often in inaccessible areas, meaning you need to outsmart the system at the apartment level.
HOW TO DISABLE YOUR FIRE ALARM SYSTEM DURING RENOVATIONS
Step 1: Identify the System Type
First, figure out if your system is addressable or non-addressable:
- Addressable Systems: High-end, expensive, and unlikely in standard apartment buildings. Sensors are connected in a loop with unique identifiers.
- Non-Addressable Systems: More common, with a basic two-wire connection running through all detectors.
How to Check:
- Look up your detector model online (a photo works best).
- Inspect the wiring. If you see a two-wire loop entering the apartment, it’s likely non-addressable.
- Check the hallway for a control box or extension module and look up its specifications.
Step 2: Gather Supplies
For non-addressable systems, you’ll need:
- A toggle switch (preferably two-way).
- A resistor matching the system’s specs (usually 4.7 kΩ, check the color coding or model specs).
TEMPORARY DISABLING PROCESS
Locate the Main Cable:
Find where the system’s cable enters your apartment. This is usually near the front door.Prepare the Wires:
Carefully strip the cable without cutting or shorting the wires.Set Up the Toggle Switch:
- Solder the wires to the toggle switch.
- Attach the resistor to the switch.
- Ensure the connections form a parallel loop.
Switch to Disable Mode:
- Cut the loop wires, one at a time.
- Flip the toggle switch to redirect the circuit through the resistor.
Secure the Setup:
Hide the toggle switch and resistor in a safe place for easy reactivation post-renovation.
IMPORTANT TIPS FOR A CLEAN JOB
- Don’t Short-Circuit: Always ensure wires don’t touch during the process.
- Double-Check Connections: Secure all soldered points for reliability.
- Test the System: Ensure the toggle switch properly redirects the circuit.
Alternate Method: Pre-Wire Toggle
To simplify on-site work, pre-solder wires to the toggle switch and secure them with connectors for quick installation.
REACTIVATING YOUR FIRE ALARM SYSTEM
Once renovations are done:
- Reconnect the wires to their original setup.
- Flip the toggle switch back to enable the sensors.
- Test the system to ensure full functionality.
Disabling a fire alarm system temporarily can be done safely and effectively with the right approach. Follow these steps carefully to avoid triggering unnecessary alarms and ensure easy restoration of the system afterward.
If you have more scenarios or specific systems to tackle, let’s adapt further!

