Main Content
Installing video surveillance in a residential building can be a game changer for security, and while it might seem complex at first, a little planning goes a long way.
Legal Considerations
When it comes to video surveillance in multi-family residential buildings, there are no explicit regulations that outright prohibit the installation of cameras in common areas like hallways or entryways. Judicial practices have generally confirmed the right to install such systems, though it’s advisable to secure neighbor consent before mounting cameras in shared spaces. This precaution helps avoid potential legal disputes down the line.
Organizing the Surveillance System
How you set up your surveillance system depends on its intended purpose:
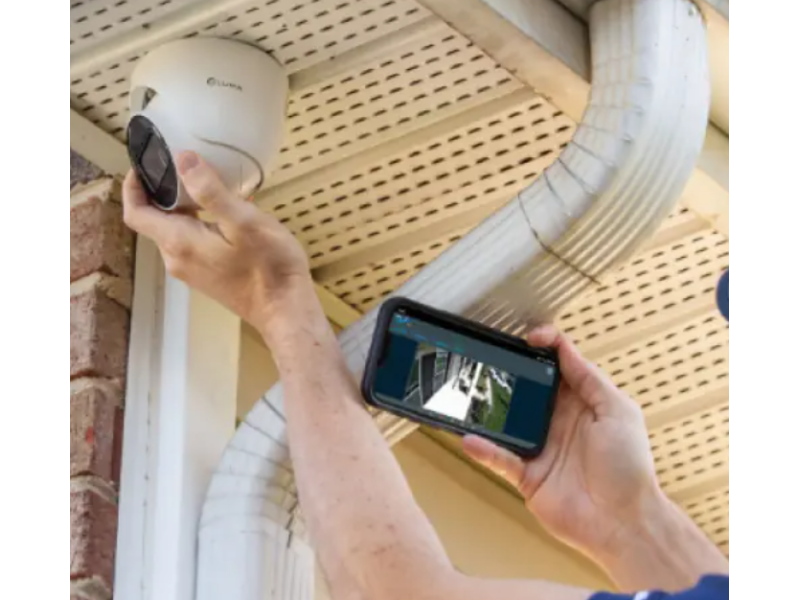
- For a Single Apartment:
The simplest scenario-mount a camera near your door and use either an IP or high-resolution analog system (such as AHD). - For a Specific Stairwell:
Cameras can be positioned to cover the corridor on one flight of stairs, with footage accessible only to those on that landing. - For the Entire Building:
A more complex setup, where cameras cover common areas (e.g., entrances, parking lots, and hallways) for access by all residents or a selected group. This often involves remote access through a cloud service or a dedicated video recorder.
Technical Aspects
- Camera Selection:
If you opt for a camera installed in one apartment, you can choose from various technologies-IP cameras for networked convenience or analog cameras for a straightforward installation. - Recording & Storage:
For most systems, having a video recorder or connecting to a cloud server to store footage is essential. Although cloud storage offers remote access, keep in mind that it typically comes with additional costs. - Access & Bandwidth:
In scenarios where many residents access the live feed or archived footage simultaneously, the system’s load can skyrocket. This might require investing in more powerful equipment, which in turn increases both setup and maintenance costs. - Local vs. Remote Viewing:
Viewing can be done locally-within the building’s network-for better performance. Remote viewing, however, necessitates reliable internet connectivity, static IP addresses, or robust cloud solutions, all of which add layers of complexity and cost.
Real-World Implementation
Consider a building with roughly 100 apartments. Even if only a few cameras are installed (say, focusing on the parking area), simultaneous access by many users can strain the system. This is why more robust, expensive equipment might be necessary, along with a carefully planned network infrastructure.
Practical Installation Approaches
In practice, installing surveillance in a residential building often begins with a small group of residents agreeing to the project. This localized approach simplifies both the organizational and technical aspects:
- Option 1: Video Recorder-Based System
Cameras feed into a recorder installed in a designated apartment. The recorded archive is stored locally, and residents can coordinate who hosts the equipment. - Option 2: Cloud-Based Service
Directly connecting cameras to a cloud platform allows remote access, but check whether the service offers guest access for multiple users.
Both solutions require thorough consideration of the pros and cons-especially regarding wired versus wireless camera connections and the reliability of each method.
Final Thoughts
Setting up video surveillance in a residential building may not be simple, but it’s certainly achievable with the right approach. The key is to clearly define your goals, choose the appropriate technology, and ensure that the majority of residents are on board. With careful planning, you can create a secure, efficient system that enhances safety and peace of mind for everyone in the building.
For more expert tips and a wide selection of surveillance equipment, visit Safsale.com-your trusted partner in creating secure living environments across the USA.