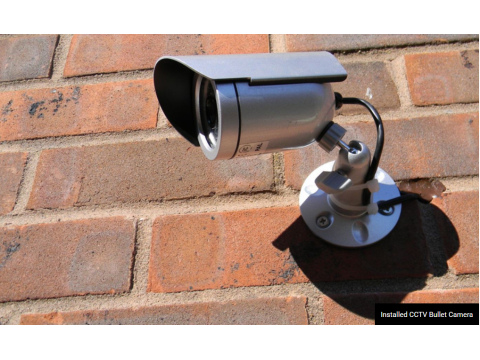
Outdoor Security Camera Installation Guide
Proper installation of outdoor surveillance cameras is crucial for ensuring the security of your property. This guide provides detailed instructions on setting up, connecting, and maintaining your cameras for maximum efficiency.
1. Preparation
Choosing the Right Location
- Height: Mount cameras at least 8-10 feet above the ground to deter vandalism.
- Lighting: Avoid direct sunlight and glare by placing cameras in shaded areas.
- Visibility: Ensure there are no obstructions, such as trees or structures, blocking the view.
Tools and Materials Needed
- Camera(s)
- Power supply or PoE (Power over Ethernet) adapter
- Weatherproof cables and connectors
- Tools: drill, screwdriver, cable crimps, level, and sealant
2. Mounting the Camera
Step-by-Step Installation
- Mark the Position: Identify the mounting spot and mark the drill points.
- Drill Holes: Use appropriate wall anchors or screws based on the surface material.
- Secure the Mount: Attach the camera mount to the wall or ceiling using screws.
- Adjust the Camera: Position the camera for optimal coverage and tighten the mounting brackets.
Cable Management
- Use waterproof cable sleeves or conduits to protect wiring.
- Seal all entry points to prevent water or pests from damaging the cables.
3. Connecting the Camera
Power Supply Setup
- For cameras using DC power, connect to a compatible power adapter.
- If using PoE, ensure the switch or injector is properly installed and configured.
Network Configuration
- For IP cameras, configure the IP address, subnet mask, and gateway via your router or software.
- Use a secure WiFi connection for wireless cameras and ensure the network is encrypted.
Testing the Connection
- View the camera feed on a monitor or smartphone app to confirm it is functioning correctly.
- Adjust the camera’s focus and angle as necessary.
4. Maintenance and Operation
Routine Maintenance
- Clean the Lens: Use a microfiber cloth to remove dust and debris.
- Inspect Mounts: Check that the camera is securely attached and free from damage.
- Review Connections: Verify that all electrical and data connections are intact and sealed.
Seasonal Checks
- Rain and Snow: Ensure waterproof seals are intact after storms.
- Cold Weather: Activate built-in heaters, if available, to prevent lens fogging or freezing.
Firmware Updates
- Regularly update the camera’s firmware for improved functionality and security.
5. Remote Monitoring Setup
Modern cameras allow for remote access through mobile apps or web interfaces. Ensure proper configuration:
- Register the camera on a cloud service (if supported).
- Set up port forwarding or use P2P for direct access.
- Use strong passwords to secure remote login credentials.
Conclusion
Installing outdoor security cameras involves careful planning and execution. By following these steps and regularly maintaining the equipment, you can ensure reliable performance and effective surveillance for years to come.

