How to Connect an IP Camera
Through a Router
A router acts as a hub for multiple devices, including IP cameras. You can connect cameras either via Ethernet (wired connection) or WiFi (wireless connection). Here's how:
For Wired Connections:
- Use a straight-through Ethernet cable (UTP with RJ-45 connectors) to connect your camera to the router.
- Ensure the camera is powered, either via a dedicated power supply or using PoE (Power over Ethernet).
For Wireless Connections:
- Initially connect the camera to your router using an Ethernet cable.
- Access the camera’s configuration menu via a PC to enable and set up WiFi.
- Disconnect the Ethernet cable once the wireless setup is complete.
Multiple Devices Setup:
- Assign unique IP addresses to each camera via the router's interface.
- For remote access, configure the router for port forwarding.
Challenges: Wireless connections may face interference or range limitations. Wired setups often have a 300-foot limit for Ethernet cables, which can be extended using additional switches or repeaters.
Connecting to a Computer
Directly connecting an IP camera to a PC can save costs and simplify setup for small-scale systems.
- Use a crossover Ethernet cable to connect the camera directly to your PC’s network port.
- Change your PC's IP address to match the camera's subnet. This step ensures they can communicate.
- Install the software included with your camera to access its settings and live feed.
- Adjust the camera’s IP address to fit your existing network setup, enabling future scalability.
While cost-effective, this method supports only one camera per connection. For larger systems, a router or switch is required.
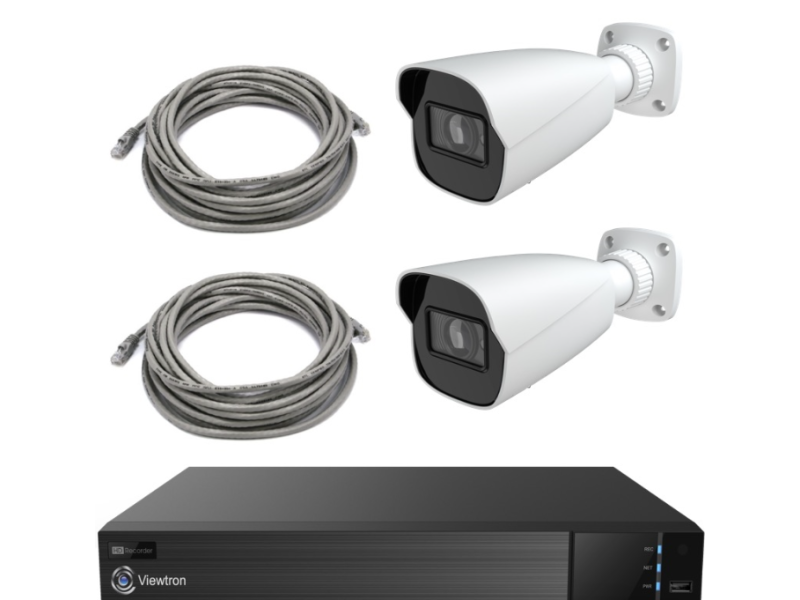
Connecting to a Recorder
Modern NVRs (Network Video Recorders) simplify multi-camera setups, offering advanced features like motion detection and 24/7 recording.
- Connect each IP camera to the NVR using Ethernet cables or PoE.
- Assign unique IP addresses to each camera through the NVR's interface.
- Link the NVR to your network for remote access and monitoring via PC or mobile devices.
Some NVRs include built-in PoE ports, making direct connections even easier. However, these ports may limit the number of supported cameras.
Recommended Cables for IP Cameras
- UTP (Unshielded Twisted Pair): Affordable and easy to install, but susceptible to interference. Avoid running near power lines.
- FTP (Foiled Twisted Pair): Features a foil shield for added protection against electromagnetic interference.
- STP (Shielded Twisted Pair): The most robust option, featuring individual shielding for each wire and a durable PVC outer jacket. Ideal for industrial settings.
Conclusion
Understanding how to connect an IP camera can unlock its full potential for monitoring and security. Whether you opt for a router, direct PC connection, or NVR setup, this guide ensures you have the tools and knowledge to get started.
For more detailed advice or troubleshooting tips, explore additional resources on safsale.com.