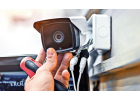
Comprehensive Guide to Installing Video Surveillance Systems
Properly installing a video surveillance system requires a well-structured approach. From selecting the right equipment to ensuring compliance with legal and technical requirements, this guide will help you create an effective security setup.
Step 1: Understand Legal Requirements
Before installation, familiarize yourself with relevant laws:
- Privacy Protection: Inform individuals about surveillance with clear signage.
- Residential Installations: Seek approval from homeowners’ associations or resident councils.
- Commercial Sites: Adhere to fire safety and labor regulations. Ensure all equipment has certified compliance.
Step 2: Choose the Right Equipment
Cameras
- Outdoor Cameras: Weatherproof (IP66 or higher) with temperature resistance.
- Indoor Cameras: Compact designs with moderate protection (IP54).
- Resolution: At least 2MP for clear visuals; 4K recommended for critical areas.
- Night Vision: Infrared capabilities for low-light performance.
Recording and Storage
- DVR/NVR: Ensure compatibility with the camera type.
- Storage: Select high-capacity HDDs or cloud solutions based on your data retention needs.
Connectivity
- Wired: Ethernet or coaxial for reliability.
- Wireless: Wi-Fi cameras for flexible placement.
Step 3: Plan Camera Placement
Key areas to monitor:
- Entrances, exits, and perimeters.
- Parking lots and loading docks.
- Corridors, lobbies, and reception areas.
- Storage rooms and cash-handling zones.
Step 4: Installation Process
Prepare Tools and Materials
- Drill, screwdriver, mounting brackets, level, and cables.
Mount Cameras
- Install cameras at 8-10 feet high to prevent tampering.
- Use protective casings for outdoor installations.
Cable Management
- Conceal cables in conduits or ceiling voids for a clean, tamper-resistant setup.
- Seal wall penetrations with waterproof materials.
Connect to Power and Network
- Verify power supply and network connectivity for all devices.
- Use UPS units for power backup.
Step 5: System Configuration
Calibrate Cameras
- Adjust angles to cover target areas without obstructions.
- Test focus and motion detection settings.
Setup Recording Parameters
- Configure continuous or motion-activated recording.
- Optimize frame rates to balance quality and storage usage.
Enable Remote Access
- Use secure apps or web interfaces for monitoring from smartphones or PCs.
- Protect access with strong passwords and two-factor authentication.
Step 6: Document and Test
Documentation
- Maintain installation plans, equipment details, and user manuals.
- Record any system updates or changes for audits.
Testing
- Verify image clarity, motion detection, and network connectivity.
- Simulate scenarios to confirm system reliability.
Step 7: Maintenance and Updates
- Clean camera lenses and check mounts regularly.
- Inspect cables for wear or damage.
- Update firmware to enhance functionality and security.
Conclusion
A carefully installed video surveillance system is vital for effective security. By following these steps and maintaining your setup, you can ensure long-term reliability and peace of mind.
11/01/2025
146
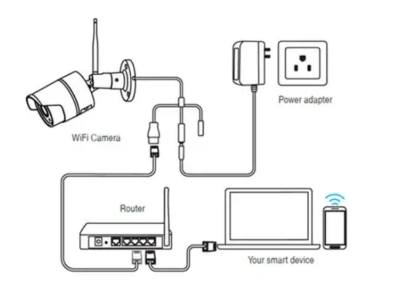
How to Install Surveillance Cameras - Step-by-Step Guide
How to Install Surveillance Cameras - Step-by-Step GuideInstalling a surveillance camera system involves several key steps, from choosing the right equipment to configuring remote access. Whether for a private home, office, or outdoor location, the process requires proper planning and execution for ..
11/01/2025
116
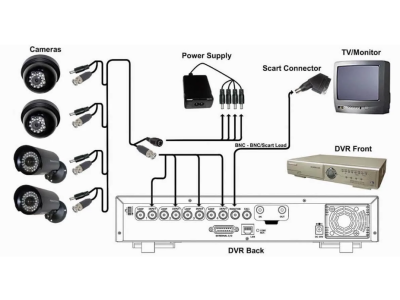
How to Connect Surveillance Systems - Complete Guide
How to Connect Surveillance Systems - Complete GuideConnecting a surveillance system involves integrating various components such as cameras, recorders, power supplies, and cables. This article covers:Connecting Analog Cameras and Recorders.Using Twisted Pair Cables in Surveillance.Setting Up IP (Ne..

11/01/2025
116
Wireless Surveillance Systems - Setup and Benefits
Wireless Surveillance Systems - Setup and BenefitsThe growing demand for wireless surveillance systems is driven by several factors, including:Simplified installation with fewer cables.Mobility for temporary or frequently relocated setups.Limited access for wiring, such as in rental properties or pr..

11/01/2025
107
How to Install Hidden Surveillance Cameras
How to Install Hidden Surveillance CamerasSetting up a hidden surveillance system involves careful planning and technical precision. Whether for security, monitoring, or specialized purposes, these systems require specific steps to ensure discreet functionality.Key Steps for Installing Hidden Survei..

11/01/2025
120
Wiring Diagrams for CCTV Systems
Wiring Diagrams for CCTV SystemsThe proper wiring setup is essential for any CCTV surveillance system. Below is a guide to typical configurations, focusing on analog systems, which remain widely used due to their simplicity and cost-effectiveness.Components of a Typical CCTV SystemA standard analog ..

11/01/2025
120
Ensuring Uninterruptible Power for Surveillance Systems
Ensuring Uninterruptible Power for Surveillance SystemsUninterruptible power supply (UPS) systems are essential for maintaining the operation of surveillance systems during power outages. This guide explains how to calculate and set up backup power for cameras and DVRs.Backup Power for Security Came..

11/01/2025
108
Building Surveillance Systems: Analog and IP
Building Surveillance SystemsDesigning a reliable surveillance system begins with detailed project planning. This includes selecting the system type, determining equipment needs, and optimizing camera placement.Key Steps in Building a Surveillance SystemDefine Objectives: Establish the goals of the ..
11/01/2025
113
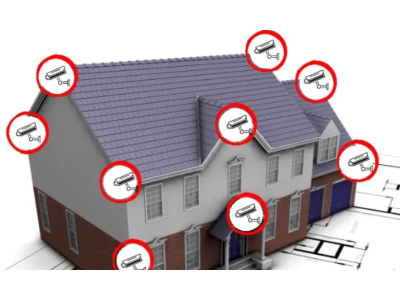
Optimal Placement of Surveillance Cameras: Indoor, Outdoor, and IP
Optimal Placement of Surveillance CamerasThe strategic placement of surveillance cameras ensures maximum coverage and effective monitoring, minimizing the number of devices required while maximizing security.Key Parameters for Camera PlacementWhen positioning cameras, consider:Height of Installation..

11/01/2025
123
How to Install a Surveillance Camera: A Step-by-Step Guide
How to Install a Surveillance CameraWhether you're installing a surveillance camera for home, office, or outdoor security, understanding the process is essential. Here's a comprehensive guide for DIY installation.Step 1: Choosing the Right Camera TypeCameras come in two popular types:Dome Cameras:Id..
11/01/2025
119
How Surveillance Cameras Work: Key Insights
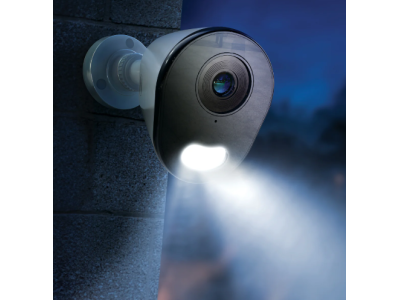
How Surveillance Cameras Work: Key PrinciplesModern surveillance systems are built on a few fundamental components:Lens (objective): Captures the image.Sensor (matrix): Converts optical signals into electrical signals.Signal Processor: Transforms raw data into usable video output.Principles of Camer..
11/01/2025
134
How to Buy Affordable Surveillance Equipment Without Compromise
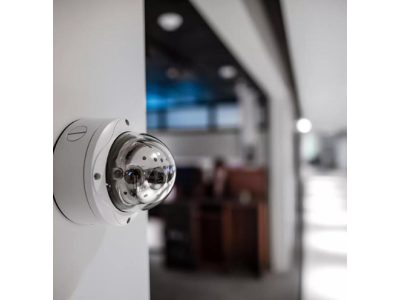
How to Buy Affordable Surveillance EquipmentWhen considering a cost-effective surveillance system, many wonder about the trade-offs that come with lower prices. The key is understanding which features are essential and which can be overlooked. Here’s how to make a smart choice.What Influences Survei..
11/01/2025
107
Ready-Made Surveillance Solutions for Offices, Stores, and Online Monitoring
Ready-Made Surveillance SolutionsInstalling a surveillance system requires careful planning tailored to specific needs. Whether it’s for an office, retail space, warehouse, or remote online monitoring, selecting the right solution ensures optimal security and functionality. Below, we explore standar..

11/01/2025
112
What You Need to Know About Surveillance Systems
What You Need to Know About Surveillance SystemsBefore installing a surveillance system, it’s crucial to understand its purpose. The system’s goals will dictate the type of equipment needed and its specifications. Here’s an overview of system types and their applications to help you decide what’s ri..
11/01/2025
114
General Requirements for Surveillance Systems
General Requirements for Surveillance SystemsThe requirements for a surveillance system depend on the specific tasks it is designed to accomplish. While general safety and installation standards apply universally, selecting the right components and ensuring optimal performance require careful consid..

11/01/2025
107
Legality of Installing Surveillance Systems
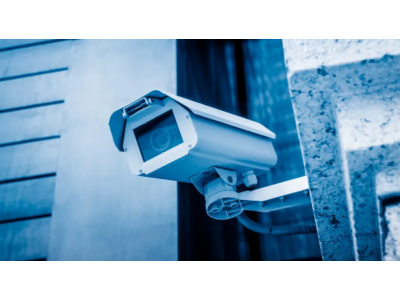
Legality of Installing Surveillance SystemsSurveillance systems play a critical role in modern security by preventing theft, safeguarding property, and monitoring activities. However, the legal framework surrounding surveillance cameras-especially hidden ones-demands careful adherence to privacy reg..
11/01/2025
115
Comprehensive Guide to Viewing Video Surveillance Recordings
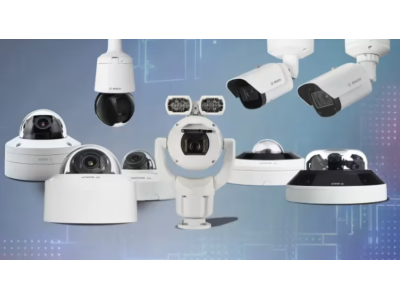
Comprehensive Guide to Viewing Video Surveillance RecordingsEffectively managing video surveillance archives is critical for monitoring and reviewing recorded footage. This guide covers accessing recordings from various sources, such as DVRs, SD cards, and cloud services.1. Understanding Recording S..
11/01/2025
127
Comprehensive Video Surveillance Setup and Usage Guide
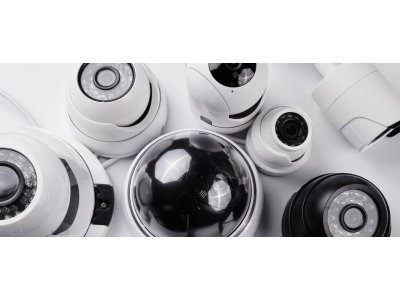
Comprehensive Video Surveillance Setup and Usage GuideEfficient video surveillance requires careful planning, installation, and maintenance. Whether you need an analog or IP-based system, this guide walks you through every step.1. Installation Instructions for Video SurveillanceStep 1: Define the Sy..
11/01/2025
134
A Complete Guide to Organizing Video Surveillance
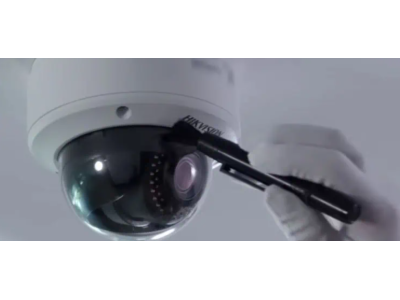
A Complete Guide to Organizing Video SurveillanceOrganizing a video surveillance system involves meticulous planning, careful equipment selection, and proper installation. Whether it’s for your home, office, or outdoor area, a robust system ensures safety and security.Steps to Organizing a Surveilla..
11/01/2025
97
Comprehensive Guide to Video Surveillance Maintenance
Comprehensive Guide to Video Surveillance MaintenanceRegular maintenance of video surveillance systems is essential to ensure their reliability and efficiency. This guide provides insights into why maintenance matters, how it works, and the critical elements of a service contract.Importance of Maint..
11/01/2025
116
Guide to Video Surveillance Storage and Retention
Guide to Video Surveillance Storage and RetentionEffective video surveillance systems require efficient data storage and retention strategies. This guide explores the factors influencing storage needs, retention periods, and the best practices for managing video archives.Key Considerations for Surve..

11/01/2025
108
How to Calculate Key Parameters for a Video Surveillance System
How to Calculate Key Parameters for a Video Surveillance SystemDesigning an effective video surveillance system requires careful calculation of several technical parameters to ensure optimal performance and reliability. This guide outlines the critical calculations needed for both analog and IP syst..
11/01/2025
115
Writing a Technical Specification for Video Surveillance System Design
Writing a Technical Specification for Video Surveillance System DesignCreating a technical specification is a critical step in designing an effective video surveillance system. This document ensures both the customer and installer have a clear understanding of the project’s scope, requirements, and ..
11/01/2025
106
Designing Video Surveillance Systems: A Step-by-Step Guide
Designing Video Surveillance Systems: A Step-by-Step GuideEffective video surveillance system design is crucial for ensuring security and functionality. The process involves strategic planning, equipment selection, and the creation of a well-defined technical layout. Below, we explore key aspects an..

11/01/2025
127
Diagnosing and Fixing Common Video Surveillance System Issues
Diagnosing and Fixing Common Video Surveillance System IssuesVideo surveillance systems can encounter various malfunctions during operation. While failures can occur in any component, certain parts are more prone to faults. Below, we outline common issues, symptoms, and effective troubleshooting met..
Showing 1 to 24 of 34 (2 Pages)
